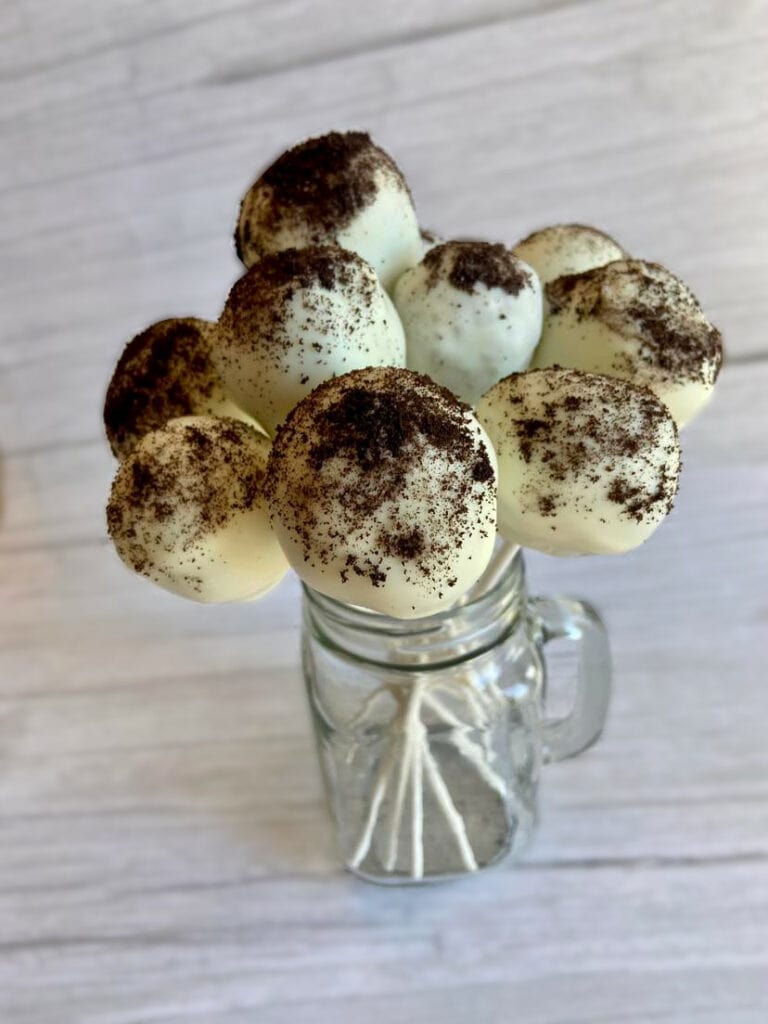
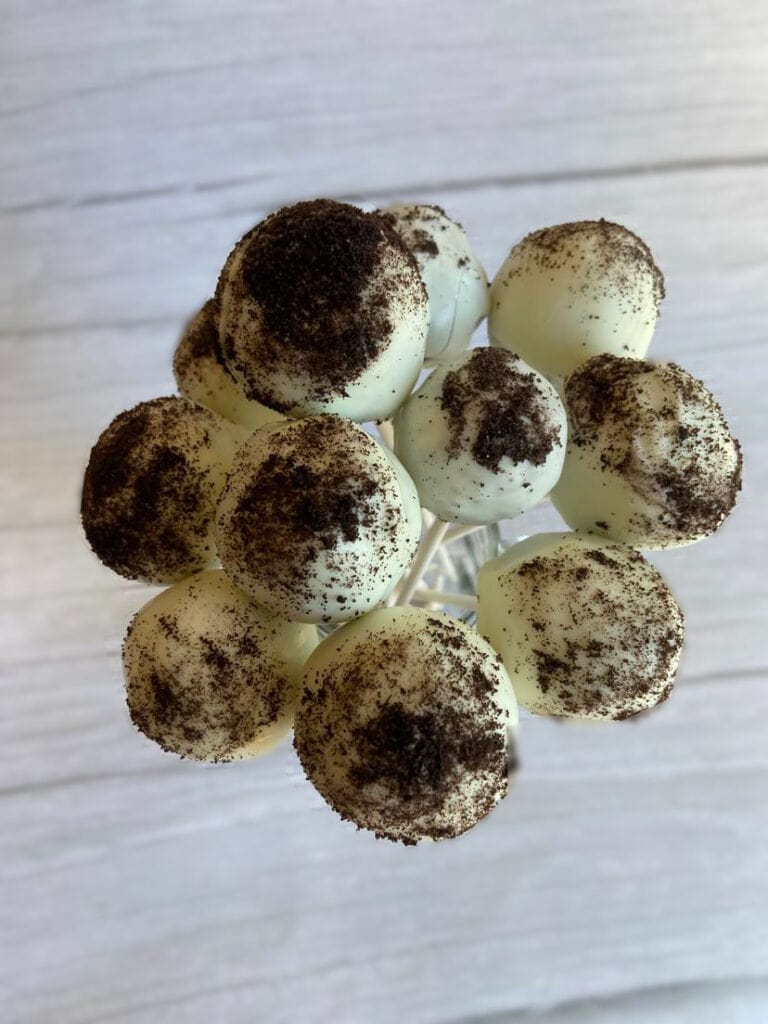
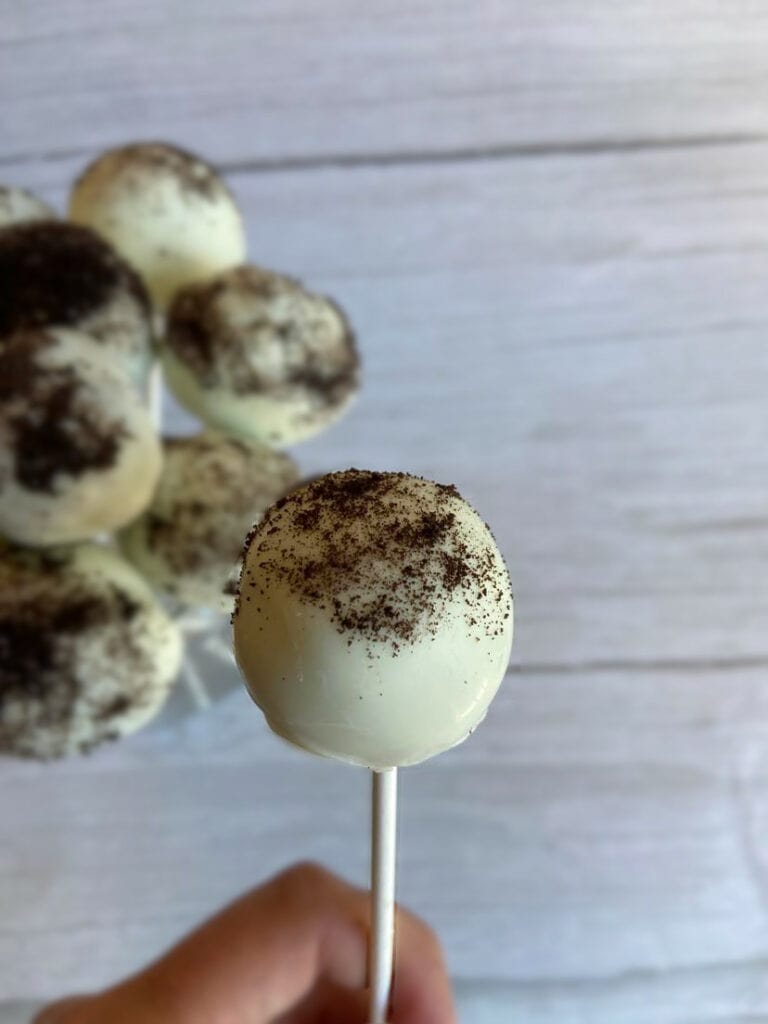
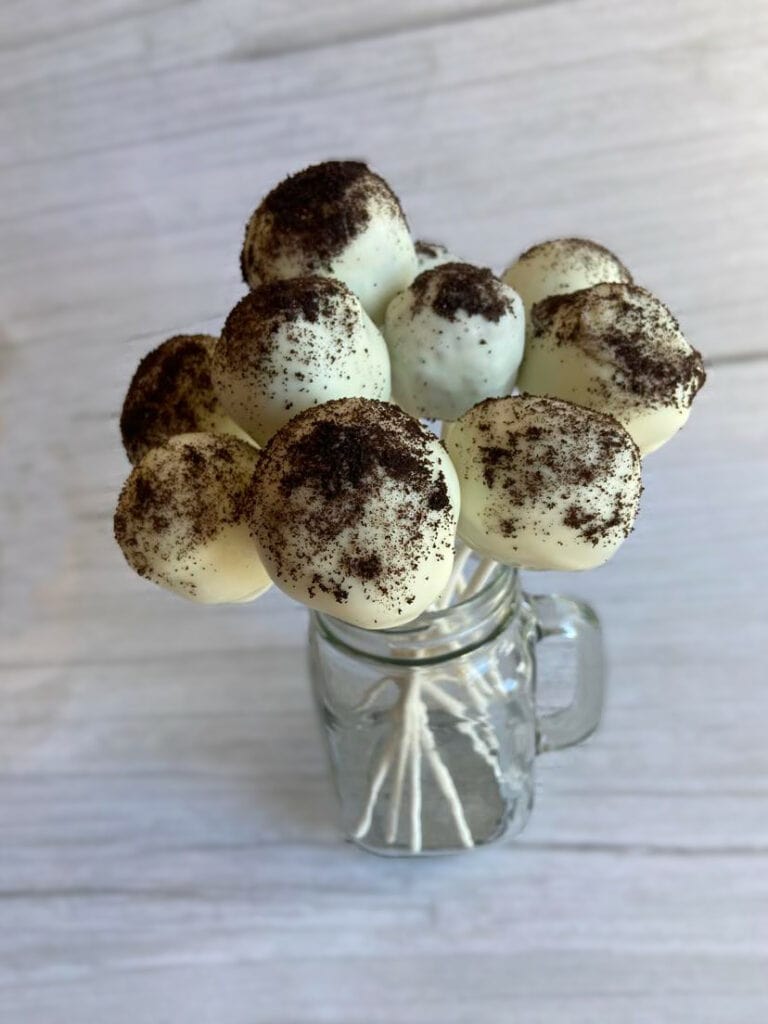
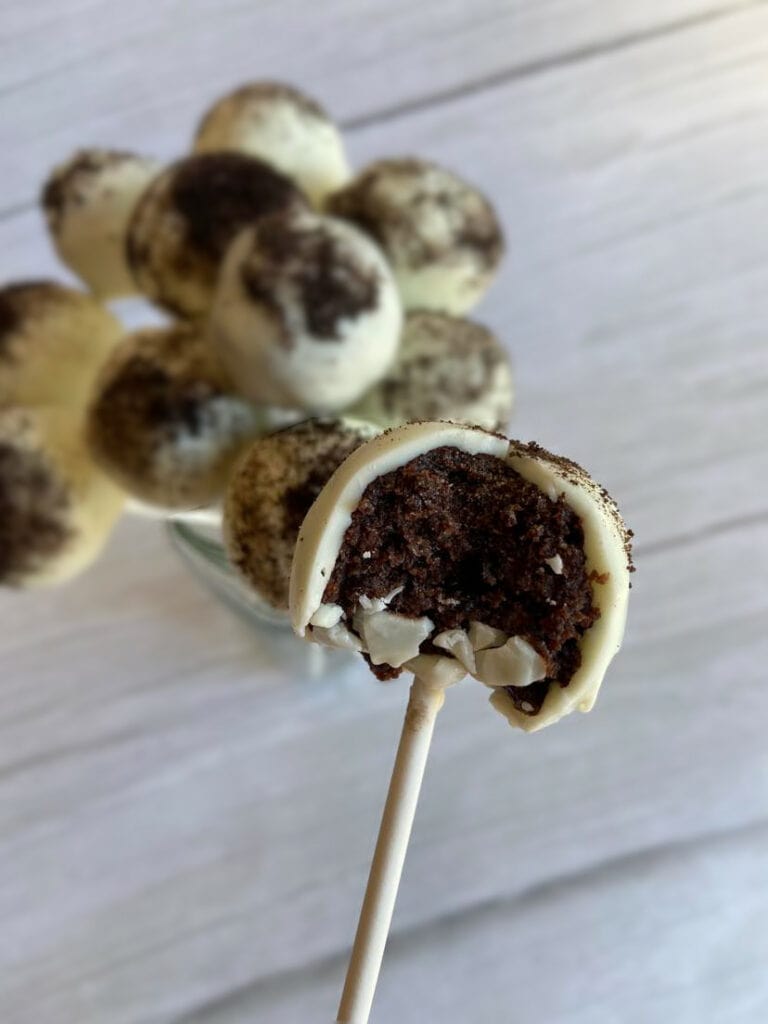
I love this Starbucks Copycat Cookies And Cream Cake Pop Recipe. It has a white candy chocolate coating that is dipped in Oreo cookie crumbs and the interior is a decadent chocolate cake and Oreo crumble that is mixed with a vanilla buttercream frosting. It’s delicious and one of my kid’s favorites!
Jump to Recipe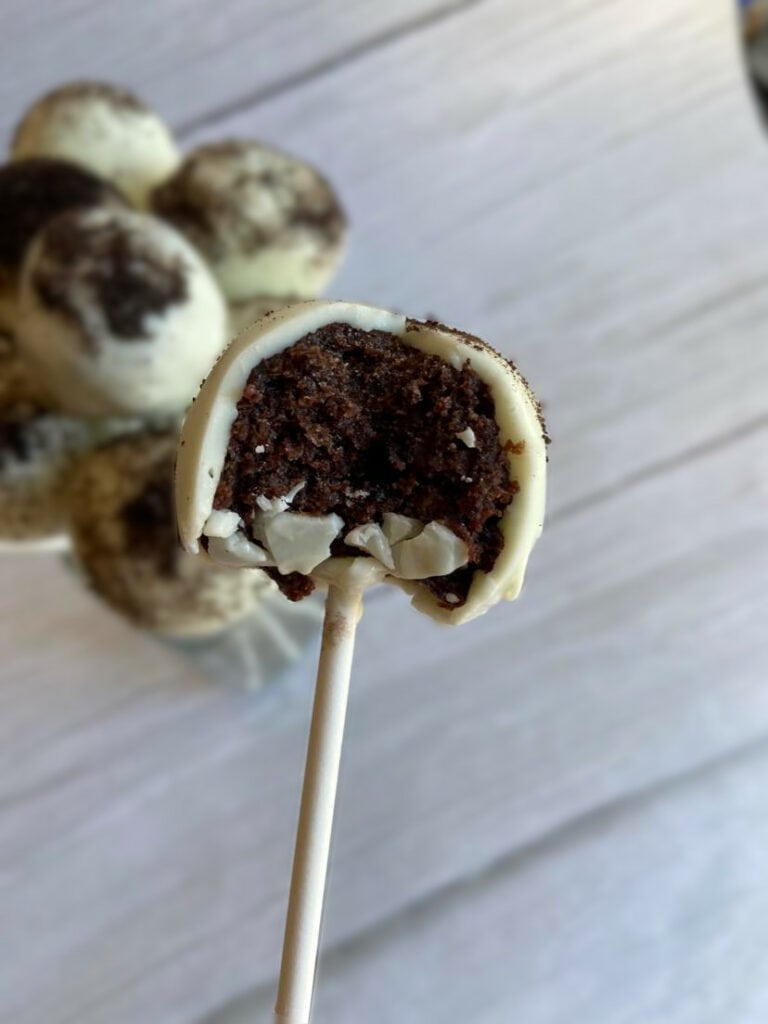
Are these worth making at home?
Although buying one at Starbucks is completely convenient, making them at home isn’t too difficult and can taste just as delicious! I would say that if you are only wanting a few cake pops, then it’s worth your time and effort to buy them from Starbucks, However, if you are wanting a lot of them, for yourself (they freeze and refrigerate for a while, more on that below) or a party or get together, then it is definitely worth your time to make them at home.
How long do these take to make?
These can be made in a day, although I like to split the process into 2 days when I can. I just find it easier, especially if you have kids running around at home like I do. The reason it is easier is that you need to bake a cake, let it cool, crumble it, add frosting to the crumbled cake, roll into balls, freeze, then dip into the candy coating.
I have found when I rush the freezing of these they are harder to dip and the process seems longer and the finally product seems slightly messier. So, I find it is easier to bake, cool, crumble, mix, roll and freeze on one day then dip them the next day. This is just a suggestion though and they can totally be made in one day as well.
What does the inside taste like?
The interior of these (Starbucks Copycat Cookies And Cream Cake Pop Recipe) cake pop’s is made from a store bought chocolate cake mix, Oreo crumbles and vanilla frosting. I change the ingredients in the cake mix slightly to ensure a rich and delicious cake crumble.
I love using a homemade frosting, It’s better than store bought by miles. Just trust me! This is what makes these cake pops taste so delicious and it’s worth the little extra effort. You can of course, also use store bought frosting if you prefer.
What is the candy coating?
The candy coating on these cake pops is white melting candy coating or you can use white chocolate melting chocolate. You can find those ingredients in the party baking supplies aisle at most grocery stores, baking stores or online on Amazon or other websites. It’s fool proof when it comes to getting that perfect snap when you bite into it. Making it ideal for dipping these cake pops into.
Can you use chocolate instead?
You can definitely use chocolate instead. White chocolate will also work. However, it might have less snap to it if it isn’t tempered correctly. White chocolate can be a little tricky to temper correctly so keep that in mind.
If you want to learn about tempering chocolate, check out my candy making 101 page HERE.
What sticks to buy?
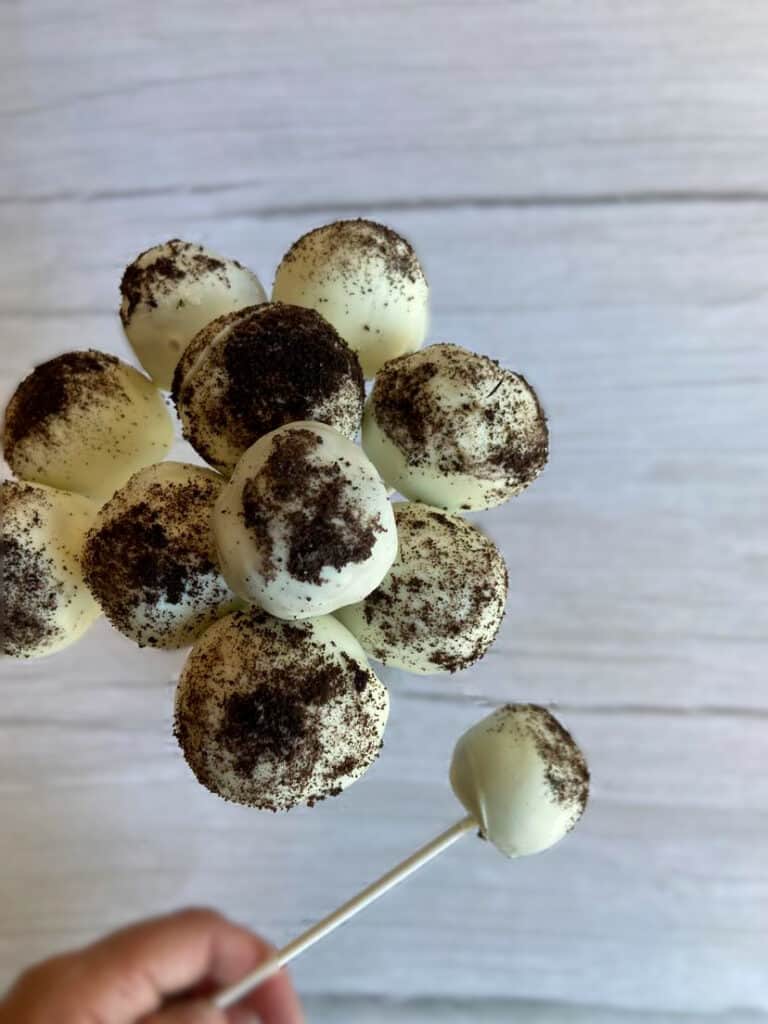
Honestly, any stick will work but if you want these to look like a Starbucks cake pop, I would use the longer candy sucker or cookie pop sticks. You can find them in the party baking aisle of most grocery stores like Walmart or any baking or craft store.
You will use a foam block or a box with holes in it or something like that to hold them up after you dip them and they need to stand up while the candy coating sets. The longer sticks work a little better than the short sticks. Also, the longer ones are easier to display once you have made your cake pops. The shorter ones work too but are a little trickier to feature for guests to eat.
What sprinkles to use?
Starbucks uses a little white nonpareil sprinkle (a little white ball), stores have these, usually with the wedding sprinkle options. I bought mine in a wedding sprinkle pack from Walmart. I also think these look adorable with colored nonpareils (looks like a pink animal cookie) or any other type of sprinkle. So don’t feel like the sprinkles have to be white, it’s purely aesthetic.
How long will these cake pops last?
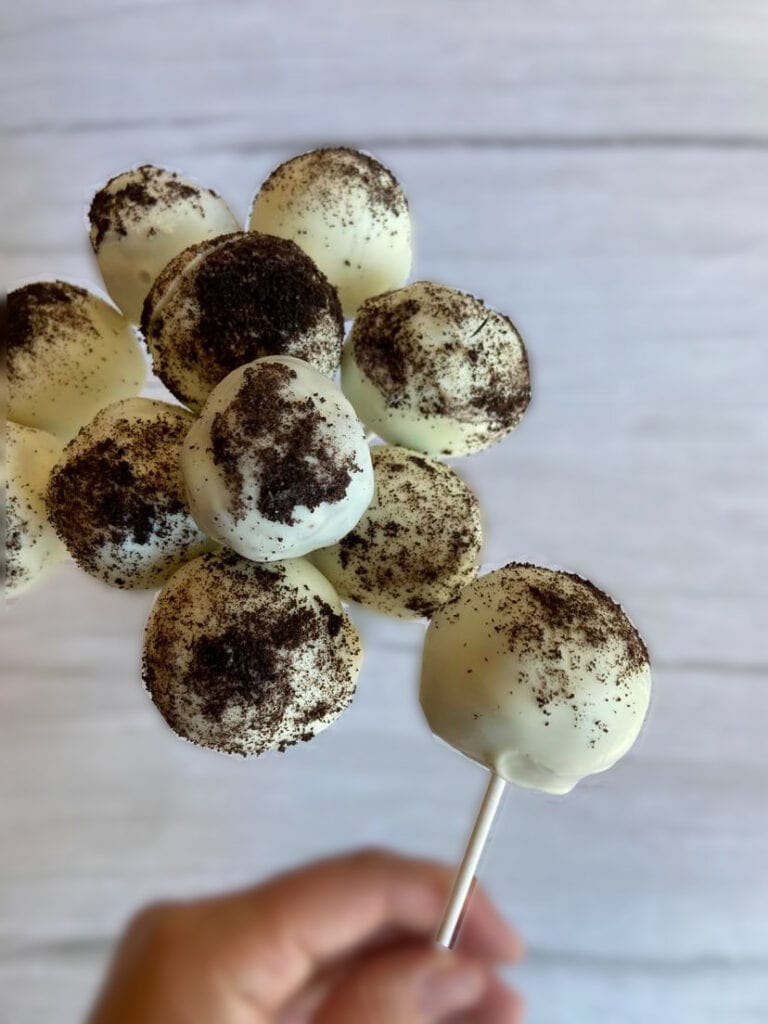
These cake pops will last in the refrigerator for a while when kept in an airtight container. I would plan on eating them within a few weeks or freezing them.
Can these cake pops be frozen?
Yes, these cake pops can be frozen! Keep them in an airtight container and when ready to eat, take them out and enjoy. Keep in mind that the coating might sweat slightly and they may crack if they warm up too quickly.
What you need to make this Starbucks Copycat Cookies And Cream Cake Pop Recipe: (printable recipe card is below)
Makes ~36 cake pops (you can reduce this recipe in half by simply adjust the serving size down below on the recipe card)
For the cake:
- 1 chocolate or devils food cake mix
- 1/2 cup salted butter – melted
- 3 eggs
- 1 1/4 cup milk
- 6 Oreos – crumbled up into small bits
For the vanilla frosting:
- 1/4 cup salted butter – room temperature
- 2 cups powdered sugar
- 1 1/2 teaspoons vanilla extract
- 2 1/2 tablespoons milk
- pinch of salt
OR
- 1 cup premade vanilla frosting
For the candy coating:
- 2 packages of white candy coating or white melting wafers or ~24 ounces white chocolate
- 3 Oreo’s – remove the filling and just use the cookies
Instructions
- Preheat oven to 350 F.
- In a large mixing bowl, add cake mix, melted butter, eggs and milk and blend until smooth.
- Pour into a greased 9 x 13 inch cake pan and bake according to package directions, usually around 34-38 minutes.
- Once cooked, allow to cool completely.
- If making these cake pops for friends and family, it is highly recommended that you grab some sterile gloves for this next part.
- Take the baked cake and add it to a large bowl, crumbling it up as you add it to the bowl. Add the crumbled Oreo pieces to the bowl and mix. Once the cake is nicely crumbed, set bowl aside and make the frosting.
- To make the vanilla frosting, add the butter, powdered sugar, vanilla, milk and salt and using a whisk attachment on a mixer, beat together until frosting is smooth and fluffy.
- Add frosting a little at a time while mixing with the crumbles, once mixture can form a ball then stop adding frosting. I have found some chocolate cake mixes have more moisture than others so adjust the frosting according to the cake mix you made.
- Roll each ball into roughly 1 1/2 inch balls and place on a parchment paper lined cookie sheet.
- Freeze balls for roughly 30 minutes, longer if you can.
- While they are freezing, prepare for dipping the cake pops, by setting up a foam block or something that will hold your cake pops while they harden.
- Remove the filling from the Oreos and crush it up in a small bowl and set aside.
- Melt candy melts in the microwave, stirring between 30 second heating increments, continue heating until the candy coating is smooth.
- Dip the sucker or cookie stick in the candy coating and then place it into the bottom of your cake ball.
- Immediately dip and turn the cake pop in the warm candy coating until the cake pop is coated.
- Tap the stick portion of the cake pop on the side of the bowl with the candy coating in it to help remove the excess candy coating.
- When the coating is almost hardened, dip the top into the crush Oreo crumbs then place in foam block so the coating can harden fully.
- Serve once the candy coating gets a change to harden or keep in a airtight container in refrigerator until you are ready to serve.
- These can also be frozen in an airtight container and use when desired.
Here are a few other recipes you may also enjoy:
Melt in Your Mouth Sugar Cookies
Soft Peanut Butter Cookies with Nutella Frosting
The Best Homemade Soft And Chewy Pretzel Buns Recipe
Starbuck Copycat Cookie And Cream Cake Pop Recipes
Ingredients
- 1 chocolate or devils food cake mix
- 1/2 cup salted butter – melted
- 3 eggs
- 1 1/4 cup milk
- 6 Oreos – crumbled up into small bits
For the vanilla frosting:
- 1/4 cup salted butter – room temperature
- 2 cups powdered sugar
- 1 1/2 teaspoons vanilla extract
- 2 1/2 tablespoons milk
- pinch of salt
- OR 1 cup premade vanilla frosting if wanting a store bought frosting
For the candy coating:
- 2 packages of white candy coating or white melting wafers or ~24 ounces white chocolate
- 3 Oreo’s – remove the filling and just use the cookies
Instructions
- Preheat oven to 350 F.
- In a large mixing bowl, add cake mix, melted butter, eggs and milk and blend until smooth.
- Pour into a greased 9 x 13 inch cake pan and bake according to package directions, usually around 34-38 minutes.
- Once cooked, allow to cool completely.
- If making these cake pops for friends and family, it is highly recommended that you grab some sterile gloves for this next part.
- Take the baked cake and add it to a large bowl, crumbling it up as you add it to the bowl. Add the crumbled Oreo pieces to the bowl and mix. Once the cake is nicely crumbed, set bowl aside and make the frosting.
- To make the vanilla frosting, add the butter, powdered sugar, vanilla, milk and salt and using a whisk attachment on a mixer, beat together until frosting is smooth and fluffy.
- Add frosting a little at a time while mixing with the crumbles, once mixture can form a ball then stop adding frosting. I have found some chocolate cake mixes have more moisture than others so adjust the frosting according to the cake mix you made.
- Roll each ball into roughly 1 1/2 inch balls and place on a parchment paper lined cookie sheet.
- Freeze balls for roughly 30 minutes, longer if you can.
- While they are freezing, prepare for dipping the cake pops, by setting up a foam block or something that will hold your cake pops while they harden.
- Remove the filling from the Oreos and crush it up in a small bowl and set aside.
- Melt candy melts in the microwave, stirring between 30 second heating increments, continue heating until the candy coating is smooth.
- Dip the sucker or cookie stick in the candy coating and then place it into the bottom of your cake ball.
- Immediately dip and turn the cake pop in the warm candy coating until the cake pop is coated.
- Tap the stick portion of the cake pop on the side of the bowl with the candy coating in it to help remove the excess candy coating.
- When the coating is almost hardened, dip the top into the crush Oreo crumbs then place in foam block so the coating can harden fully.
- Serve once the candy coating gets a change to harden or keep in a airtight container in refrigerator until you are ready to serve.
- These can also be frozen in an airtight container and use when desired.
